
This Makeup Pro Shows Us His Tricks For A Glowing Complexion
You will be all about snapping those #nofilter selfies
Glowing skin: a perennial goal for many of us that somehow seems to elude us. And despite the multitude of highlighters and strobing products that promise to deliver radiant skin, many women can't seem to get it just right. The most common mistake? Overdoing it with contour sticks and highlighting powder. While that can look great for online tutorials, the heavy-handed effect might not necessarily translate to real life. Just think of how your makeup will look (and feel) when it's cakey or worse, melting off your face in this heat quite literally.
And so to satisfy women's desire for glow, minus the need to pile on layers and layers of products, Eric Jimenez, Co-Founder of ColorMe Cosmetics, is launching his new Underglow Hydrator, a moisturising base that preps, plumps and as you guessed it, Illuminates your skin. Formulated with hydrating spheres that bind moisture to plump skin, it balances oily skin while giving a moisture boost to dry skin. For those looking at achieving that flawless finish, Eric shares his expert tips on how to layer on products in a fuss-free way for a natural, glowing effect.
Step 1: Brightening and Hydrating Base
Before beginning with any complexion products (this includes, primers and foundations etc), Eric stresses on the importance of moisturising and protecting skin with a moisturiser and sunscreen. And keep a bottle of your favourite face mist on hand so you can spritz it liberally all over your skin any time. Use a pearl-sized amount of the new ColorMe Underglow Hydrator, which should suffice for your entire face. It instantly hydrates skin while tiny light-reflecting pigments give the illusion of radiant skin. Simply blend towards your jawline and hair line using the ColorMe makeup applicator, your preferred foundation tool or even your fingers.
Thermal Spray, Babor
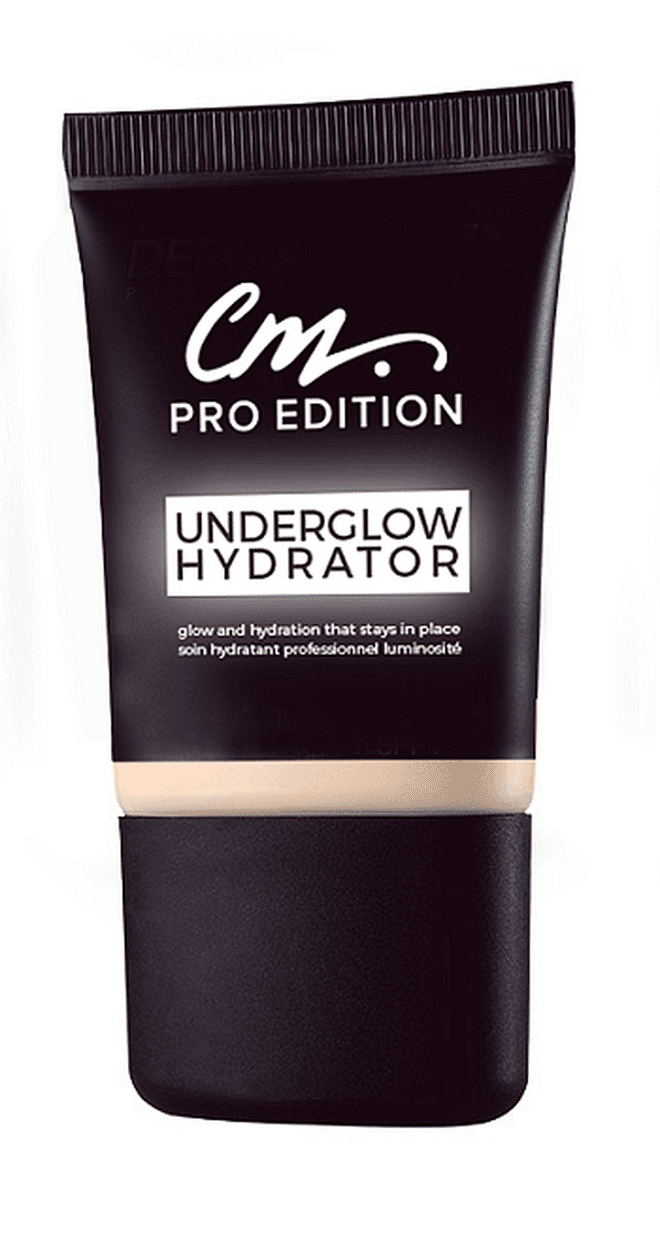
Underglow Hydrator, Color Me

ColorMe Pro Edition
Step 2: Foundation
Once you have a perfect base, you only need very little foundation. Focus on areas where you are most prone to redness or discolourations, including around the nose and mouth, cheeks and chin. When it comes to foundation, always remember less is more. Start light and it is always easier to add on more product if need be, than to blend out excess product.
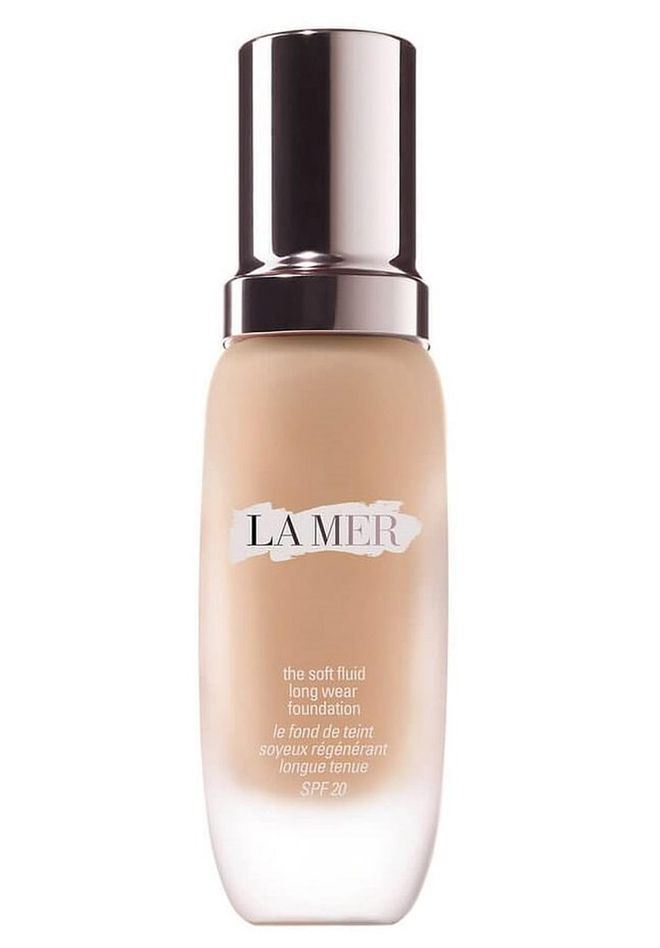
The Soft Fluid Long Wear Foundation, $190, La Mer
Step 3: Concealer
To cover up undereye circles, apply concealer directly on the inner and outer corners of the eyes. Always blend in a light dabbing motion, if you're using your fingers, and never tug your skin in a downward motion.
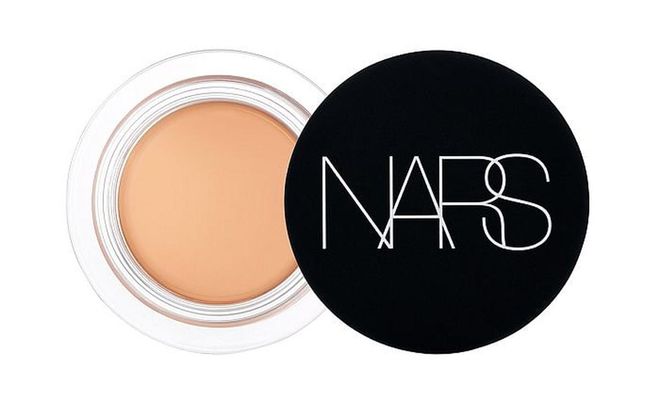
Soft Matte Complete Concealer, $46, NARS
Step 4: Contour
Apply your contour product on areas where shadows are naturally casted, which include the hollows of your cheeks, the side of your nose bridge and around the hairline. However, for those with a round face shape (like I do), avoid contouring around the hairline as this can make your forehead appear shorter than it is. Eric also suggests sticking to similar textures when layering on products for easier blending. For example, use products that are in a cream or liquid texture from foundation to highlighter and contour to make things easier.

Face Contour, $54, Burberry Beauty
Step 5: Highlight
To make your features pop, apply a highlighting fluid on areas where light naturally falls. They include your forehead, the tops of your cheekbones and your chin.
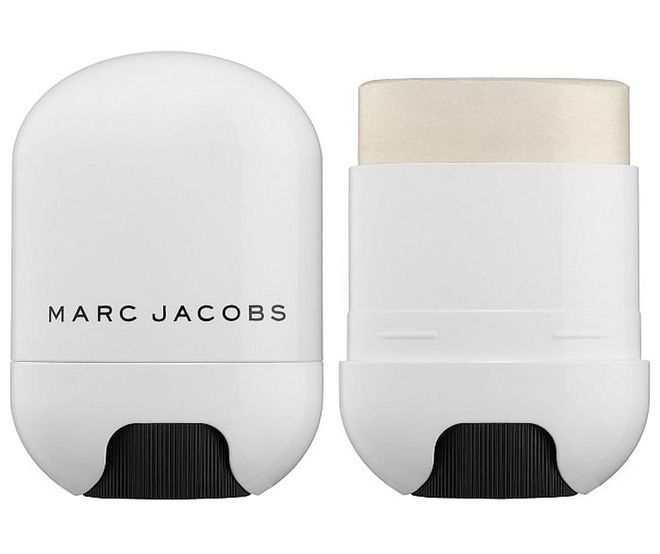
Glow Stick Glistening Illuminator, $64, Marc Jacobs Beauty
Step 6: Set With Powder
When working with creams and liquids, finish with a thin veil of loose powder to set makeup. This holds makeup in place and helps it last longer. Opt for an invisible powder that doesn't contain any additional shimmer so it doesn't alter the effect of your makeup.
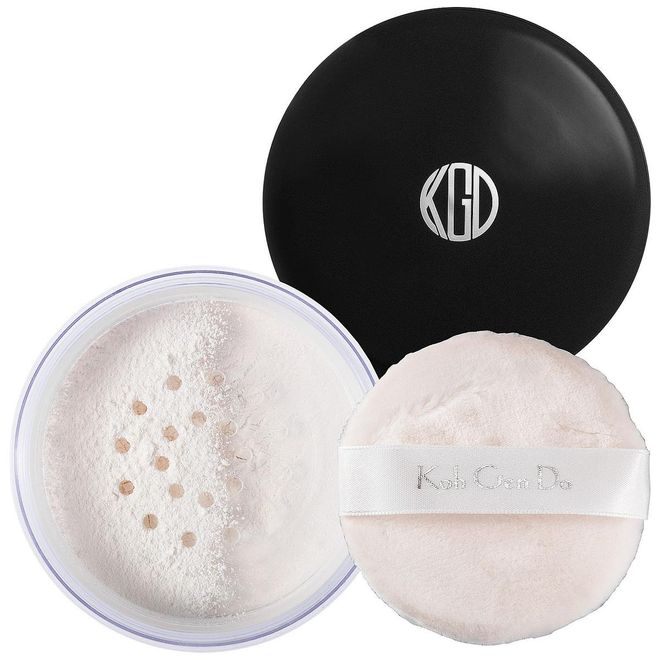
Maifanshi Face Powder, Koh Geh Do
Step 7: Blusher
Apply blusher directly on the applies of the cheeks and blend upwards towards the temples. This gives cheeks a lifted look.
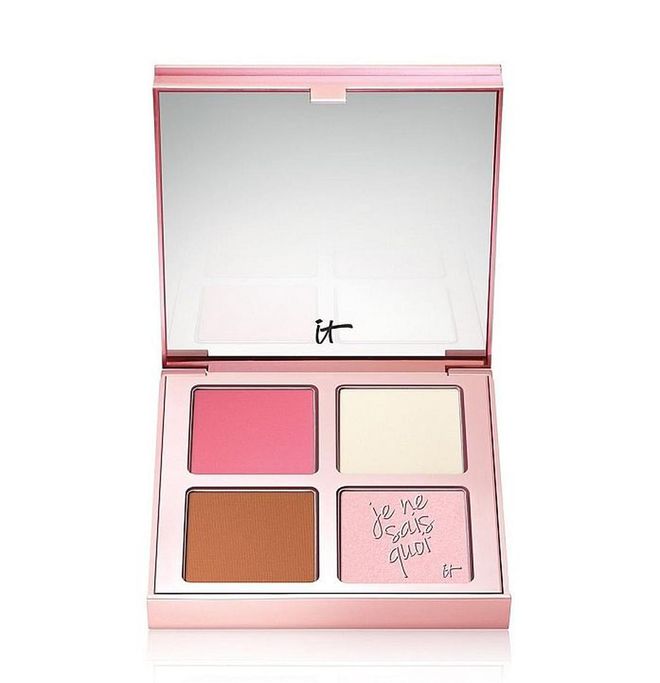
Je Ne Sais Quoi Palette, $39, It Cosmetics
Click here for the full version of Eric's tutorial video.
By Joyce Cheo